Zack Norman on July 5, 2023 No Comments
As a car owner, knowing how to change your car’s engine oil is a valuable skill that can save you money and keep your vehicle running smoothly. In this comprehensive guide, we will walk you through the step-by-step process of changing your car’s engine oil, empowering you to take control of your vehicle’s maintenance needs.
Determining the Right Oil Type and Quantity:
To begin, consult your car’s owner’s manual to identify the correct oil type and quantity (such as comparing Castrol Edge vs Mobil 1). Understanding the recommended viscosity and whether synthetic or conventional oil is required ensures optimal engine performance.
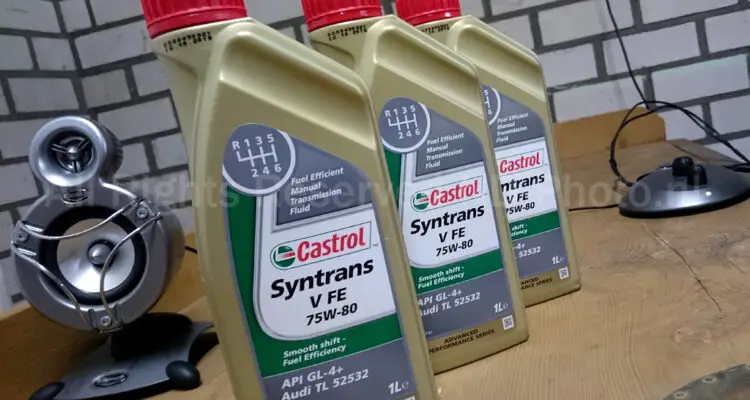
Gathering the Essential Tools and Supplies:
Before you start, gather all the necessary tools and supplies, including the appropriate oil, an oil filter, wrenches, and safety equipment. Having everything on hand will streamline the process and prevent any unnecessary delays.
Preparing Your Vehicle:
Ensure that your engine and oil are warm, but not excessively hot, before beginning. If necessary, use a reliable floor jack and safety stands to elevate your car, providing better access to the drain plug and filter.
Locating the Oil Filter and Drain Plug:
With your vehicle prepared, locate the oil filter and drain plug. Most cars have a screw-on filter mounted at the bottom. If the filter and plug are not in close proximity, focus on the draining and replugging process before addressing the filter.
Draining the Oil:
Position a drain pan beneath the drain plug, considering the angle of oil outflow. Removing the oil filler cap facilitates a smoother and faster drainage process, ensuring you get rid of the old oil effectively.
Unplugging and Draining:
Wearing protective gloves, use an end wrench to carefully remove the drain plug. Be cautious of the warm oil as it flows out. Allow the oil to drain completely before proceeding.
Replugging and Securing:
Once all the oil has been drained, reattach and securely tighten the drain plug. Take care not to over-tighten, as it may cause damage to the oil pan.
Changing the Oil Filter:
With the oil drained and the drain plug secured, it’s time to replace the oil filter. Use an oil filter wrench to loosen and remove the old filter. Before installing the new filter, apply a thin layer of fresh oil to the rubber gasket. Hand-tighten the new filter in place.
Adding Fresh Oil:
With the new filter in position and the drain plug securely fastened, it’s time to add fresh oil. Insert a funnel into the oil filler hole and slowly pour in the recommended quantity of new oil, as specified in your owner’s manual.
Checking Oil Levels and Final Checks:
After adding the new oil, remove the dipstick, wipe it clean, and reinsert it. Withdraw it once more to check the oil level. The oil should be within the “full” mark on the dipstick. Start the engine briefly to ensure everything is functioning properly and check for any leaks from the drain plug and oil filter. Finally, perform a final oil level check to ensure it remains within the acceptable range.
Conclusion:
Changing your car’s engine oil is an important maintenance task that every car owner should be familiar with. By following the steps outlined in this guide, you can confidently perform an oil change and keep your vehicle in optimal condition. Remember to consult your car’s owner’s manual for specific instructions and adhere to the recommended maintenance schedule. With regular oil changes, you’ll enjoy a smoother driving experience, improved performance, and a longer lifespan for your beloved car.