Zack Norman on July 4, 2023 No Comments
In today’s technologically advanced vehicles, the body control module (BCM) serves as the nerve center, overseeing and coordinating various electronic systems. However, when the BCM malfunctions, it can lead to a host of issues. This comprehensive guide will provide you with expert insights and practical instructions on how to perform a successful BCM reset, repair a faulty module, and navigate the intricacies of programming it.
Part 1: Decoding the Body Control Module Reset Process
A body control module reset is a crucial procedure to rectify electrical issues and restore the optimal functioning of your vehicle. Let’s delve into the step-by-step process:
- Prioritize safety by disconnecting the battery terminals.
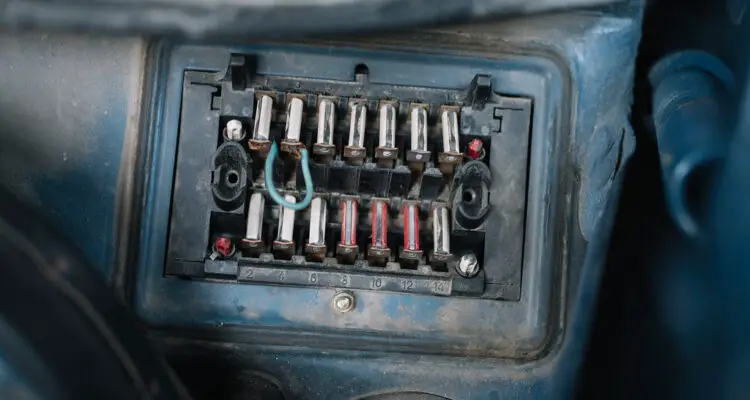
- Locate the BCM, typically nestled within the dashboard. Consult your vehicle’s manual or seek guidance from an experienced mechanic if needed.
- Remove the BCM by carefully unscrewing bolts and detaching connector clips.
- If replacing the BCM, ensure compatibility with the original module. Reinstall the new BCM by reconnecting wires and clips, then securely fasten it with bolts.
- Reconnect the battery terminals to restore electrical supply.
- Thoroughly test the vehicle’s electrical systems to verify if the issues have been resolved.
Part 2: Mastering Body Control Module Repair
Repairing a malfunctioning BCM is within reach with the right tools and knowledge. Here’s a breakdown of the repair process:
- Assemble the necessary tools: wrench, screwdriver, OBD2 scanner, and multimeter.
- Gain access to the BCM by skillfully removing the cover using a wrench and screwdriver.
- Diagnose potential issues by connecting the OBD2 scanner and noting any error codes related to the BCM.
- Decode the error codes using reliable online resources or consult your vehicle’s manual.
- Thoroughly inspect the BCM’s electrical connections using a multimeter to ensure continuity.
- Address any wiring issues or damaged components by meticulously repairing or replacing them.
- Validate the effectiveness of the repairs by reconnecting all components and conducting another scan with the OBD2 scanner.
- Perform a BCM reset by disconnecting the battery for approximately 15 minutes, then reconnect it.
- Thoroughly test the electronic functions controlled by the BCM to ensure the repair was successful.
Part 3: Demystifying Body Control Module Programming
Proper programming is vital when it comes to a replacement or existing BCM. Here’s an illustrative example of the programming process:
- Confirm a fully charged battery and secure connections to the Multiple Diagnostic Interface (MDI) data link.
- Access the Service Programming System (SPS) using an up-to-date scan tool.
- Select the BCM option in the SPS Supported Controllers screen and meticulously follow the on-screen instructions.
- Prepare for ignition based on the specific system in your vehicle (key ignition or push button start).
- Choose Immobilizer Learn-Setup followed by the BCM Setup option in the SPS Supported Controllers screen.
- Check the driver information center display for any additional calibration instructions and complete the programming procedure accordingly.
- After programming, turn the ignition off for 10 seconds, open and close the door, then connect the scan tool to the data link connector.
- With the ignition on and the engine off, use the scan tool to clear all Diagnostic Trouble Codes (DTCs) from control modules.
Conclusion:
By mastering the art of body control module (BCM) reset, repair, and programming, you empower yourself to tackle electrical issues in your vehicle. Whether you choose to embark on a DIY journey or seek professional assistance, understanding the process is essential. Regular inspections, prompt attention to BCM-related symptoms, and following safety guidelines will contribute to maintaining a smooth and reliable driving experience. Consult your vehicle’s manual for precise instructions and enjoy the benefits of a well-functioning BCM.